In Truckcom it’s possible to add emails to a jobs history. This allows all the information regarding a job to be stored in one place, or archived to find later if necessary.
You can find the Job History by right clicking a Job on the Jobs screen and clicking “History”.

This then shows the following popup which shows the history of a Job. This normally contains all changes made to a job – including when it was created and edits performed on the job, by who and the timestamp.

You can add entries for emails here by following these steps.
Firstly, find your Truckcom company ID. This is the name of the company that is shown at the URL for the webpage before the “xt.truckcom.net”, as highlighted in the image below.
![]()
To attach an email to a job, the email needs to be sent to a particular email address that includes this Truckcom Company ID. It’s in the form:
<company ID>history@truckcompdf.net
Where company ID is your own Truckcom company ID. In the example for this test company, the email address I’ll have to send my email to would be ronantesthistory@truckcompdf.net.
The email must also include a hashtag followed by the Job ID in the emails subject line to make sure Truckcom knows which job to link the email to. The Job ID is shown for a job inside the Job History pop up, or you can also find it inside the ID column on the Jobs screen. For this example with Job 62, the subject of the email will have to include “#62”.

Sending the email to this company history email address and having the #ID in the subject of the email is all you need, after sending the email it should appear in the jobs History automatically after a few minutes.

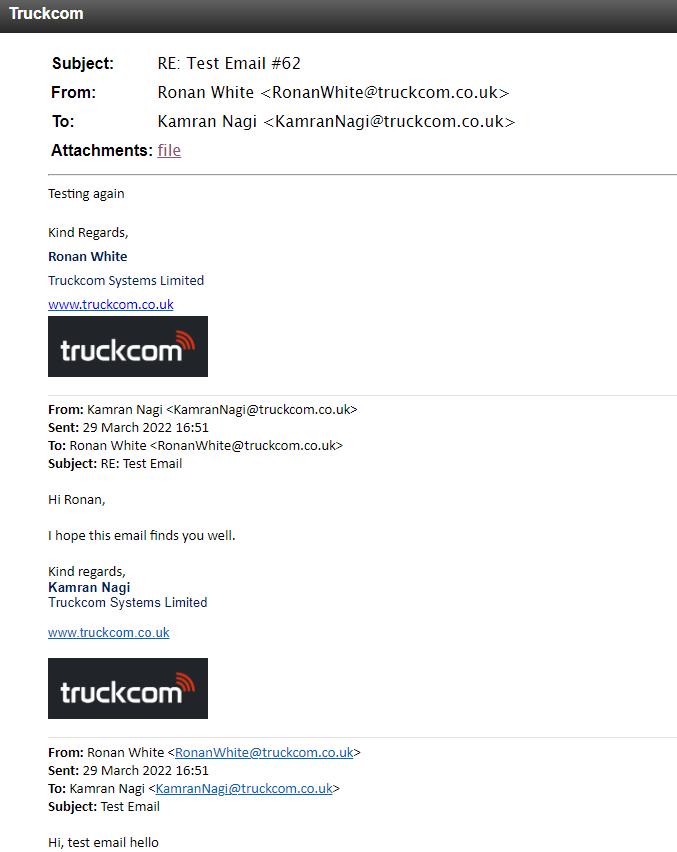
By clicking on File Link under the “File Link” column, another web page will open up which shows you the email chain that was attached in the history. It will also show any attachments made to the email that was sent to the above email address.


